Learn about PMA.start
Image types
Navigation
Interact with slides
Advanced use
Learn about PMA.start
Image types
Navigation
Interact with slides
Advanced use
This is an old revision of the document!
If you have a My Pathomation account, you can transfer your slides directly from your local (or external) hard disk to our My Pathomation cloud solution.
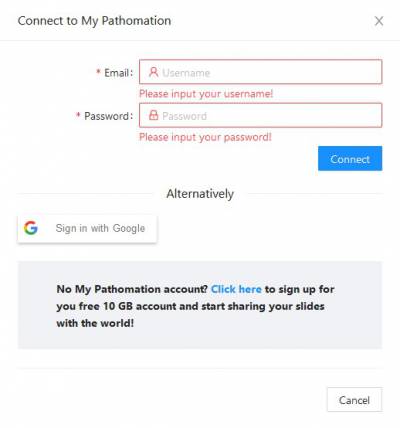
You can connect to your My Pathomation account by clicking on 'Sign in to My Pathomation' menu under the cloud icon on the right hand side of the top menu
 On the popup dialog you can either enter you My Pathomation credentials or use your Google Account to sign in. If you are a new user you can go to My Pathomation website and create a new account before signing in.
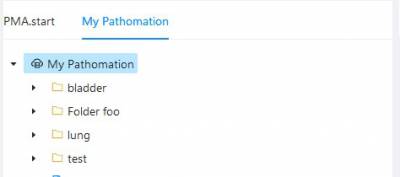
 After a successfull connection the cloud icon will turn blue and also a new My Pathomation tab will appear at the left hand side of the page. Your credentials will be remembered and the next time you launch PMA.start you will be automatically connected.

 You can then browse your online slides exactly like your local slides via the treeview on the left hand side of the application
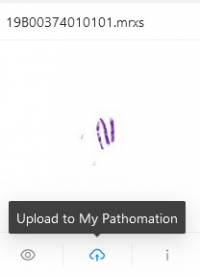
After connecting to your My Pathomation account all local slides will have a new icon in the grid view called 'Upload to My Pathomation'. Clicking this button will take you the transfer page with that slide already selected. You can also navigate to the Tranfer page at any time using the top menu

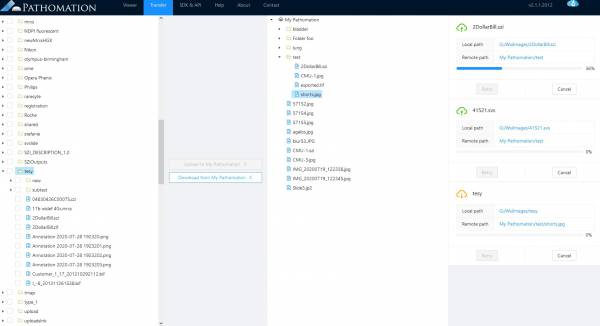
The transfer page is the main page for uploading slides to your My Pathomation account and reviewing the progress of your upload tasks. The transfer page is comprised of 4 parts as seen in the screenshot below. The left part a the local slides treeview, in which you can select a slide or a folder to upload. The right part is a My Pathomation treeview in which you can select a folder as a destination for an upload operation or a slide for a download operation. The middle part is the operation buttons for uploading/downloading slides. These button are enabled/disabled if you selections are correct for each operation supported i.e a slide/folder on the local treeview and a folder on My Pathomation treeview for an upload or a slide on My Pathomation treeview and a folder on the local treeview for a download operation.
To upload a slide you simply
To download a slide you simply
Each transfer task (upload/download) will be displayed in the final column of the page along with all the relevant information about it
The upload operations will be queued and performed by the PMA.start server, so you can leave this page and return at a later time to see the progress made.
