How to Add Collections
1. Walkthrough Steps
1) Go to “My collections” in the sidebar.
2) Click on “+ New collection” in the middle of the page, or at the top of the page if your account already has some collections
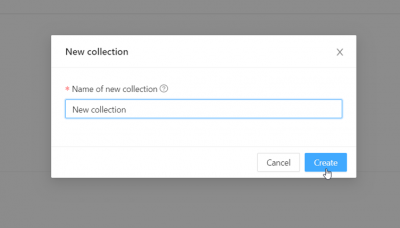
3) Choose a name for your collection and click on “Create”.
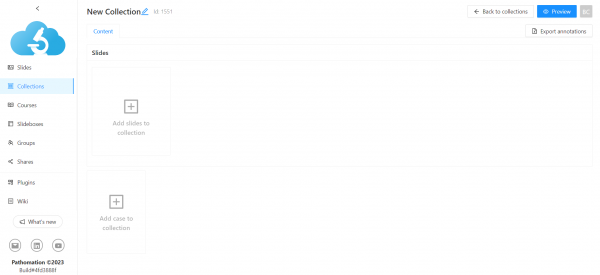
4) Now you can choose to add single slides to your collection or to create a case within your collection.
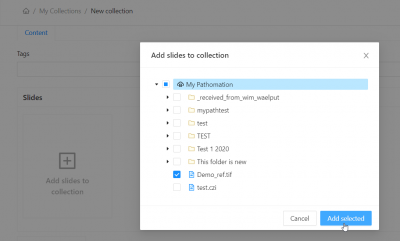
- To add a slide: click on the “add slides to collection” button and choose a slide from your My Pathomation slide repository
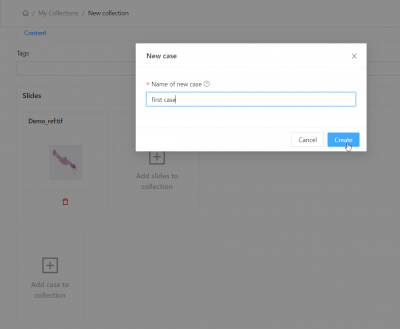
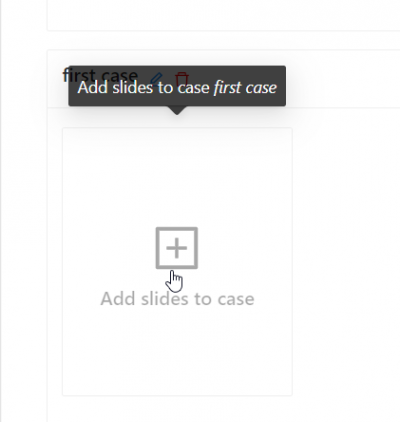
- To add a case: click on the “add case to collection” button. You will be prompted to give a name to the case you would like to create.
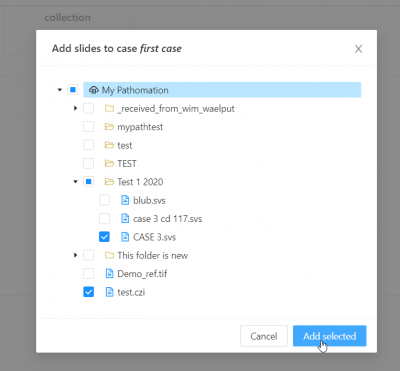
Now you are able to add slides to your case by selecting slides and pressing “Add selected”
5) You can now preview your newly created collection by clicking on the “Preview” button.
All the slides in your collection appear in the Slides panel on the left of the viewing window. Slides in your collection can be viewed one at a time, or side by side in multi-view.
2. Multi-view and Collection-Specific Annotation
To start comparing additional slides, simply click a slide’s thumbnail in the “Slides” side panel (1) to add them to the main display. To remove a slide from multi-view display, click the (now outlined) slide thumbnail in the “Slides” side panel to toggle it's inclusion.


