Customize and Make an Annotation
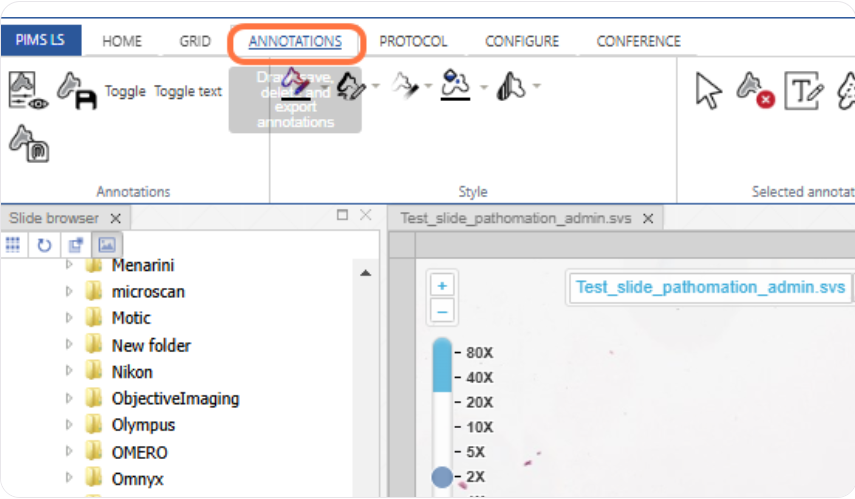
This guide will take you through making and customizing annotations in the annotations tab.
All annotations in PIMS LS are CEIVD-C certified for diagnostic measurement of both distances and areas, and these measurements are automatically displayed.
Quick annotations
By default, the annotation tool you select will be black with no fill.
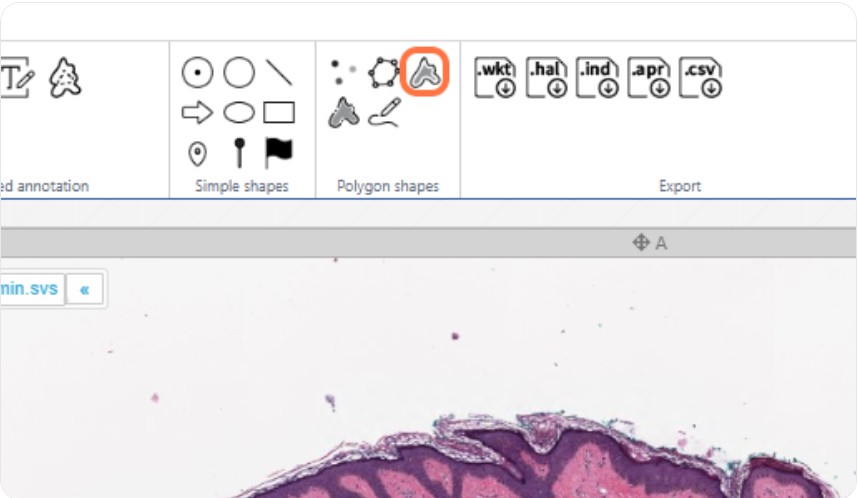
To make one, simply click on one of the basic or polygon annotation tools, and click / click and drag on your image where you want it to go.
In the image below, the example of the closed freehand is highlighted
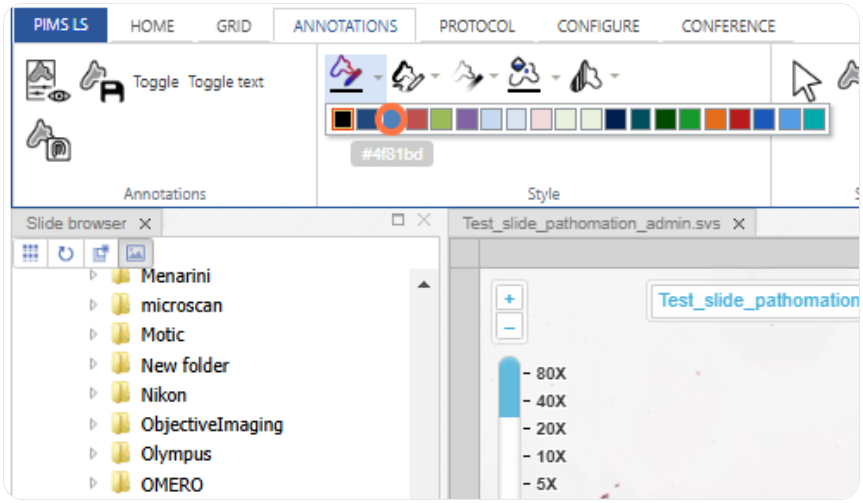
Custom Annotations
But what if you don't want basic black? Luckily there are lots of options.
In the style group you can choose from:
- Outline colour
- Outline thickness
- Outline transparency
- Fill colour
- Fill transparency
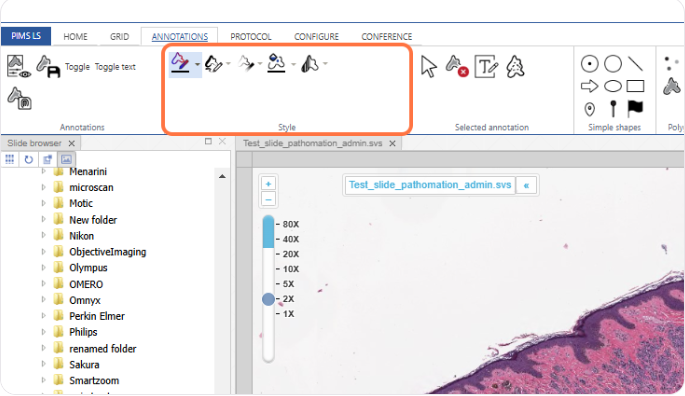
Once you click on one of the style icons, the options e.g. colour, % opacity, thickness… will display in a dropdown menu.
Choose your preferred option(s)
Then choose a simple or a polygon shape.
The closed freehand (highlighted below) is very useful - you can click and drag around a shape, and when you release the shape will automatically be connected together.
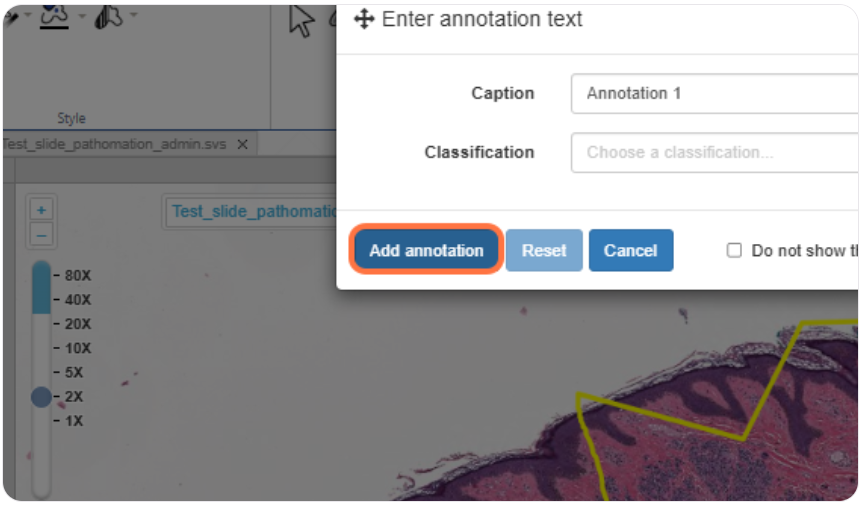
Once you've completed drawing your annotation, you will be prompted to confirm the annotation, and give it a description or classification e.g. carcinoma
You can turn this off by clicking 'don't show this display again while I use this tool' if you want to make a lot of annotations
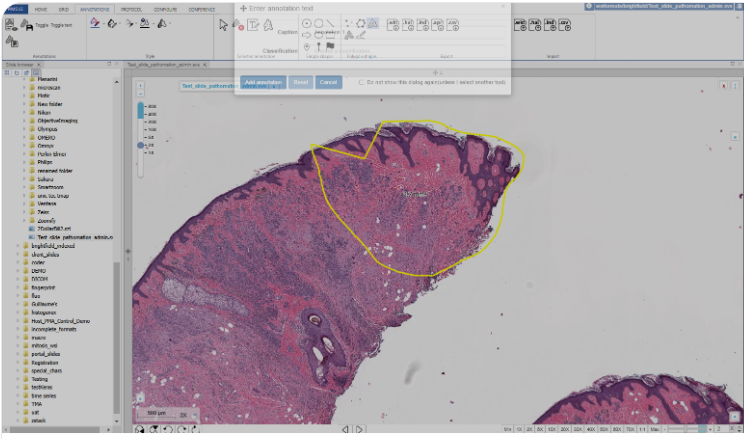
When you're satisfied with your classification and / or description, click 'Add Annotation' to save it.