Sidebar
Table of Contents
Getting started
PMA.core is a web-based system running on IIS. Therefore, you'll need a webbrowser and a network-connection to use the system.
During installation you will have determined the URL through which the application is accessible.
Navigation
The end-user interface for PMA.core is available from your system administrator, or Pathomation support contact (it will have been communicated to you once the installation procedure was completed).
A Pathomation representative can tissue you with initial credentials for When you visit the URL for the first time.
- The username is case-insensitive. Logging in as “User” or “usER” is the same.
- The password on the other hand is case sensitive: when your password is “PaSsWoRd”, you will not be able to login with “pAsSwOrD” instead.
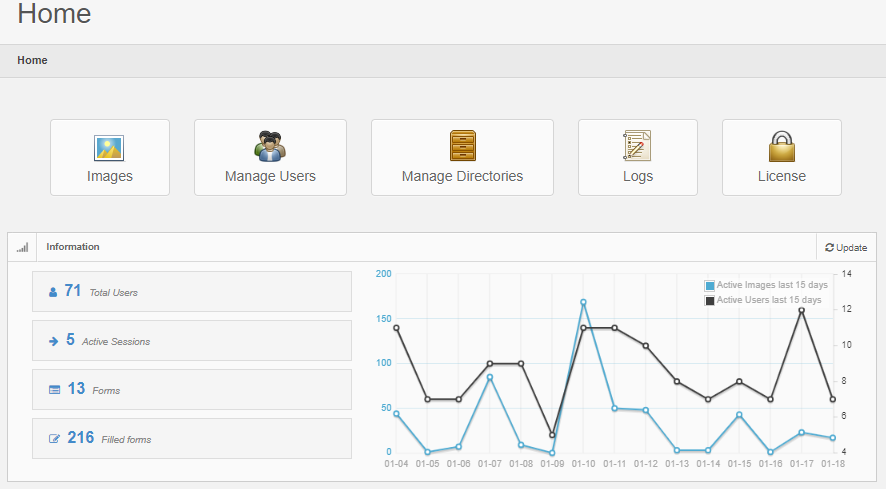
Upon successful login (if unsuccessful, you receive an error message and you're allowed to attempt to log in again), you see the startpage for the PMA.core administration interface:
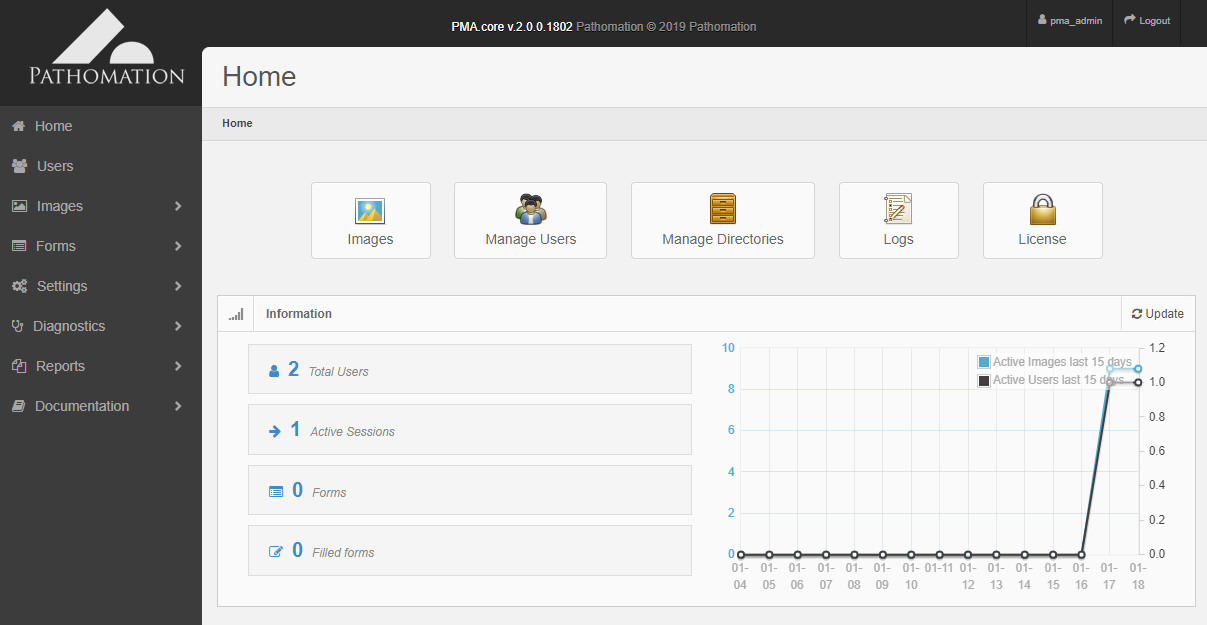
The exact appearance of this page depends on your specific installation and what optional modules are available.
- Identity control: shows what login that was used for authentication, and allows one to log out again (and subsequently switch personas)
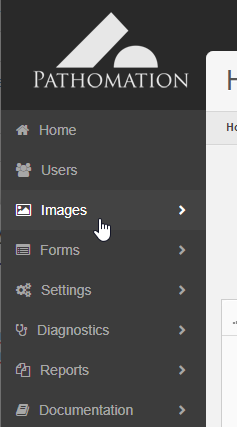
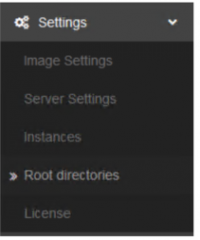
- Navigation menu: allows the user to make a selection to administer and monitor different aspects of PMA.core. Some menu-items are collapsable and have additional sub-menus. The specific menu- and submenu-items shown may vary based on your specific installation and license terms.
- Content frame: shows content for the selected menu-option. By default, the “home” selector in the menu is highlighted upon login. Some high-level usage statistics are shown in this, which can be further examined by clicking on them.
Minimal user management
In order to have an optimal functioning system, there are some minimal housekeeping rules that you should take care of right now. Don't delay, don't let this linger, don't postpone this until later. Do this now; you'll gain some experience with the PMA.core system and have a more secure environment because of what you're about to do (but only if you do it).
Change the admin password
The initial (default) username and password are give to you by your system administrator.
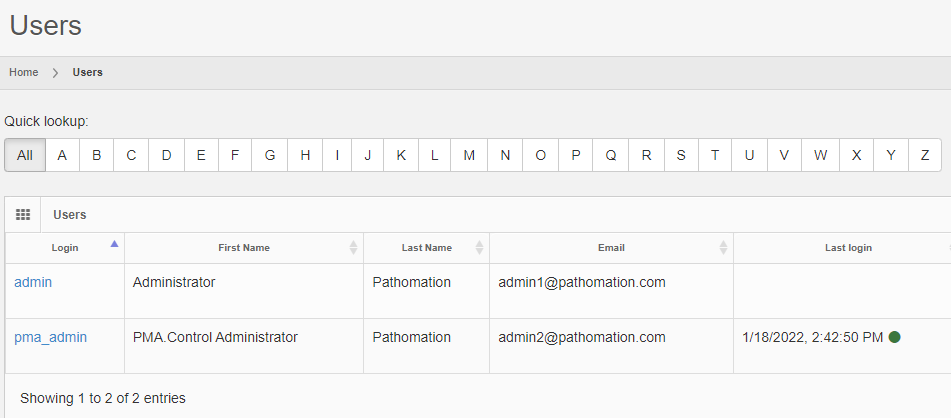
Select “Users” from the navigation menu. You should only see a limited number of users in the content frame.
After clicking on the “Edit” button, you can change the properties for the account. You should at least modify the password, but you can also update the remaining information with your own personal information:
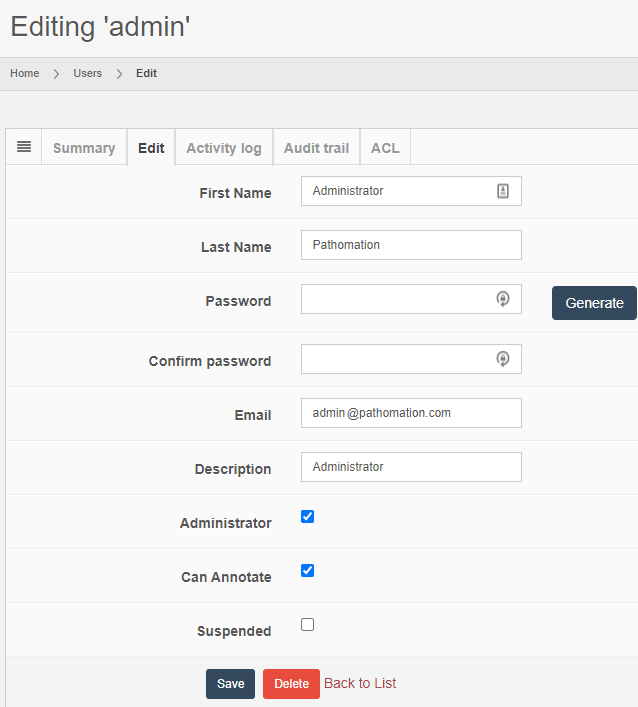
Additional options that are shown below these fields can be left on their default values for now. Details for these are elaborated upon in subsequent chapters (they may also vary based on your license agreements and other contracts with Pathomation).
After changing the above fields to fit your particular circumstances, make sure the press the save button to commit your modifications.
Creating a new user
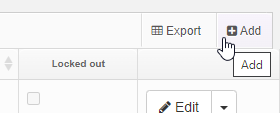
At this point, it's also a good idea to create at least one new user who's not an administrator. For that, go to the user overview frame and click the “Add” button in the top-right corner.
A blank form appears, and you'll recognize the various fields from when you were editing the administrator's account.
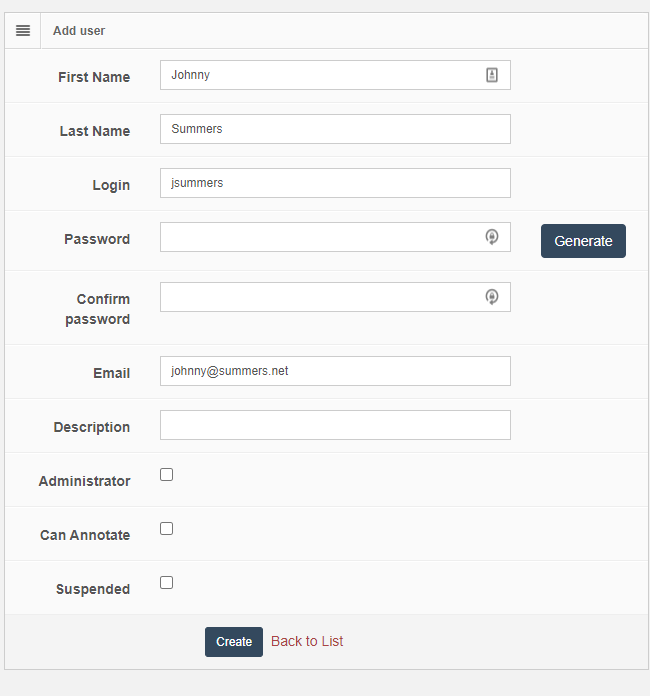
While creating or editing a user, you may opt to let PMA.core generate a password for you. In such a case, PMA.core will generate and display the password that will be assigned to the user. You should take a note of it at this point. You may ignore once again all the fields below the “email” field. Press the “Create” button to finish the new user profile and see it appear in the list of users:
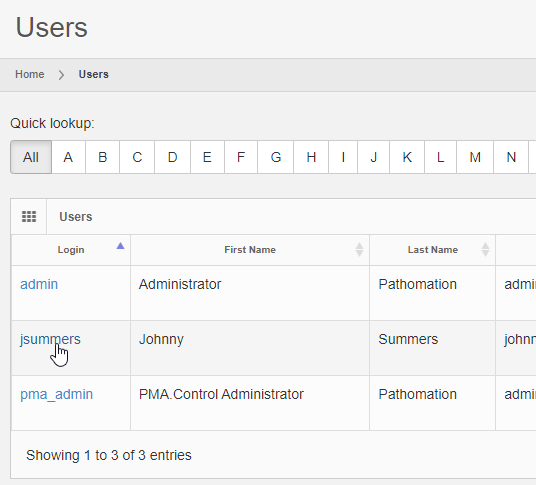
Note that you just created the “jsummers” user without administrator privileges (default setting). This means that this new user is restricted in what (s)he's allowed to do.
Access restrictions
Normally, you create new user accounts without administrator privileges (default setting):
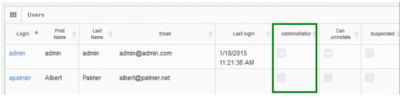
Based on the scheme above, the “admin”-user will be allowed use the PMA.core management interface, whereas the “apalmer”-user will not. When apalmer tries to log in through the main PMA.core login screen with these credentials, (s)he'll be unable to proceed. Since PMA.core is considered a management application for the Pathomation software platform, only users with a checked Administrator flag can log in through here:
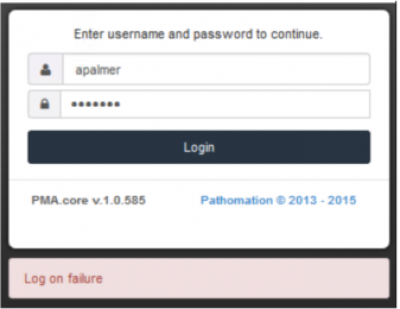
However, logging in through a downstream application such as PMA.studio should proceed. The following schema illustrates the difference between having the Administrator flag checked or unchecked (when user “admin” and “apalmer” try to gain access to the same respective applications):

As of PMA.core 1.1, additional user access rights can be determined through Access Control Lists (ACLs). If access rights do not work out as you intended, check the chapter on user management for troubleshooting an account's properties, or consult the individual product manuals to see that you have the connectivity with the corresponding PMA.core set up appropriately.
Host your slides
Now that you've created your first user, you still have to be able to show that user some content. In order to do that, you need to set up your first root directory. We elaborate on the concept in a subsequent chapter, but suffice it to say for now that a root directory is a starting location from which your various whole slide images will be hosted.
The reason for working with root directories has two advantages:
- You don't have to navigate through a complicated directory structure before reaching the files that you want to work with
- You can map multiple root directories to organize slides according to different purposes or workflows.
The concept of root directories is not dissimilar to mapped network drives in the Microsoft Windows operating system, where you map a map such as \\myserver\dir\subdir\subsubdir\ to a (much simpler to remember and address) drive letter.
Let's figure out how to set up root-directories in the next section.
Configuring a new root directory
You can set up a new root directory by going to Settings > Root Directories.
Similar to how you created you first user, you can set up a new root directory by clicking on the “Add” button in the top-right corner of the overview table:
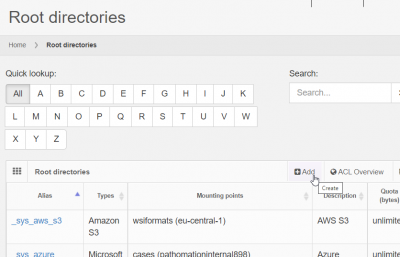
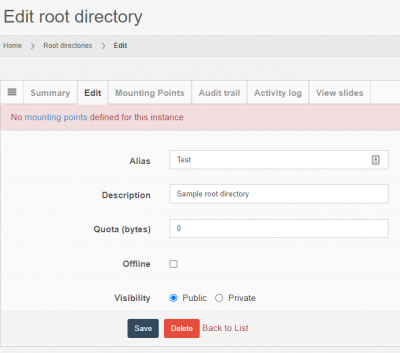
The new form that appears is also not unlike the one you used to add a new user: assign it an alias that you can use for identification and recognize, an optional description, and press the “Create” button. You can may ignore the rest of the fields for now; these are explained in detail in the dedicated chapter on root directories. Once the root directory is created, a mounting point is required that tells PMA.core where to find the slides that should be displayed under the particular root directory.
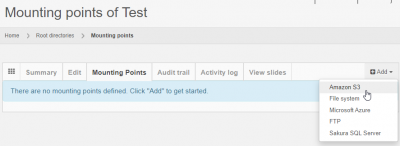
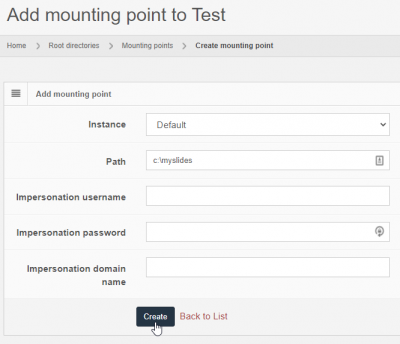
PMA.core supports several storage source types (aka mounting points) where slides can be accessed from. The most straightforward one is a local directory in the host server. The rest are explained in detail in the dedicated chapter on root directories. To get started, click on the “Mounting Points” tab and add a “File system root directory”.
In the new form, provide an existing path in your server where slides are stored and leave the rest of the fields with their default values. The path must exist and PMA.core must be able to access it. This will be validated upon pressing “Create”:
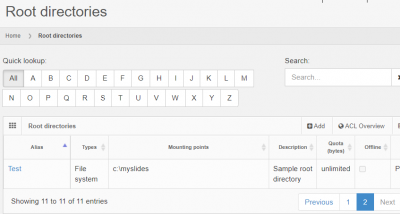
At this point, the root directory can be accessed and should be listed in the root directories section as mountable:
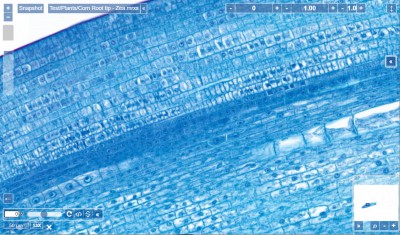
And you can browse the “test” root directory by going to the Images menu. You'll be able to select from any root directory that you have in your list, and see what files are present in each one. Furthermore, you may inspect any file in this list by clicking on its filename first, and subsequently on its thumbnail:

The image will then open in a new window, with a rudimentary no-bells-no-whistles interface.
You can find out more about what you can do with images in subsequent chapters, and of course you can have access to a much more advanced viewer in the separate PMA.view and PMA.studio applications.
What's next?
In this chapter, we've made an attempt to offer you a straight path to have operations up and running. We've shown you the quickest route through a minimum of steps of what it takes to get your server online and ready for action.
You've created your first user account, mapped your first (digital) slide repository, and even looked at your first slide and experienced the ease of use of our platform, as well as the convenience of no longer having to worry about “which files can I actually see?” or “do I have the right viewer for this?”.
In subsequent chapters we elaborate on each of the topics touched upon in this introduction, and introduce you to some new ones along the way.
We sincerely hope you enjoy our software and that this is the beginning of a fruitful collaboration and relationship between you, the customer, and us, your friendly neighborhood digital pathology firm. As always; should you have any comments, questions, or concerns, drop us a line at info@pathomation.com.