Sidebar
Table of Contents
Looking at content (PMA.UI viewport)
PMA.core incorporates the PMA.UI framework, which includes a versatile viewport for control.
PMA.UI's viewport is web-based and independent; the front-end runs in the webbrowser of your choice. You can use it examine brighfield, fluorescent, and z-stacked slide content from the same environment.
The tile server ships with a default PMA.UI configuration. When embedded in downstream consumers like PMA.studio or in custom scenarios and analytical pipelines however, much more customization is possible.
Getting around
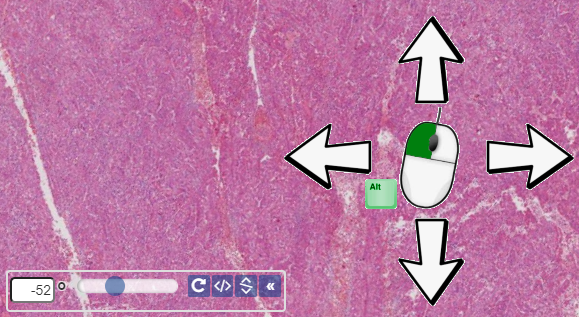
Use the arrow keys on your keyboard to move around
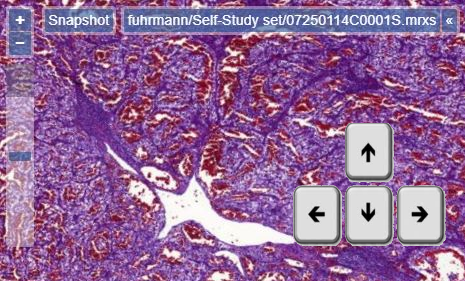
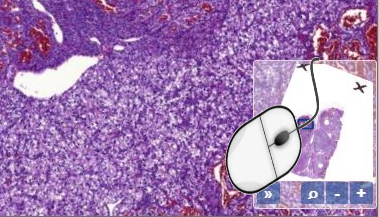
Click on the left mouse button, and move the mouse around, to move the slide around, too.

If you want to navigate somewhere quick, click anywhere in the overview image to immediately jump to that particular area at the current magnification.
If you want to rotate a slide, use Alt + mouse movements. Alternatively, use the rotation widget in the bottom left of the screen for simpler mouse control, or to enter very precise rotation angles.
Zooming in
PMA.UI's viewport offers different ways to zoom in on a slide.
The simplest way is to use the scrollwheel on your mouse: pushing the scrollwheel forward (away from you) lets your zoom in; bringing it toward you (or scrolling backwards) zoom out again. Furthermore, we've optimized the speed of interaction so that you can go from the highest level of viewing to the deepest level in one smooth sweeping motion.
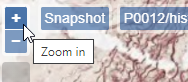
If you don't have a mouse, or want precision control, you can use the zoom controls in the top-left corner of the screen, too. There are plus and minus button to zoom in (increase magnification) or zoom out (reduce magnification).
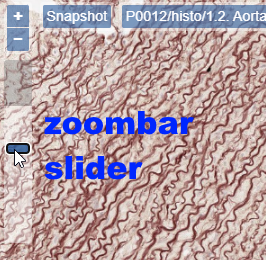
There is also the zoombar. You interact with that one by moving the slider up and down to control your magnification.
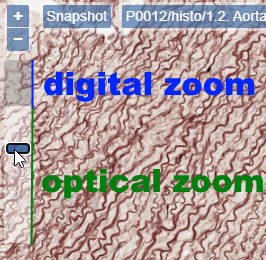
The zoombar is useful even if you don't use it to control your magnification: it also indicates whether you are looking at content through optimal magnification or digital pmagnificaion. The number of articifically added zoomlevels for digital zoom can be controlled in PMA.UI, or even disabled altogether.
On mobile devices, pinching also works (use the pinch manoever to rotate your content, too!).
Thumbnails and labels
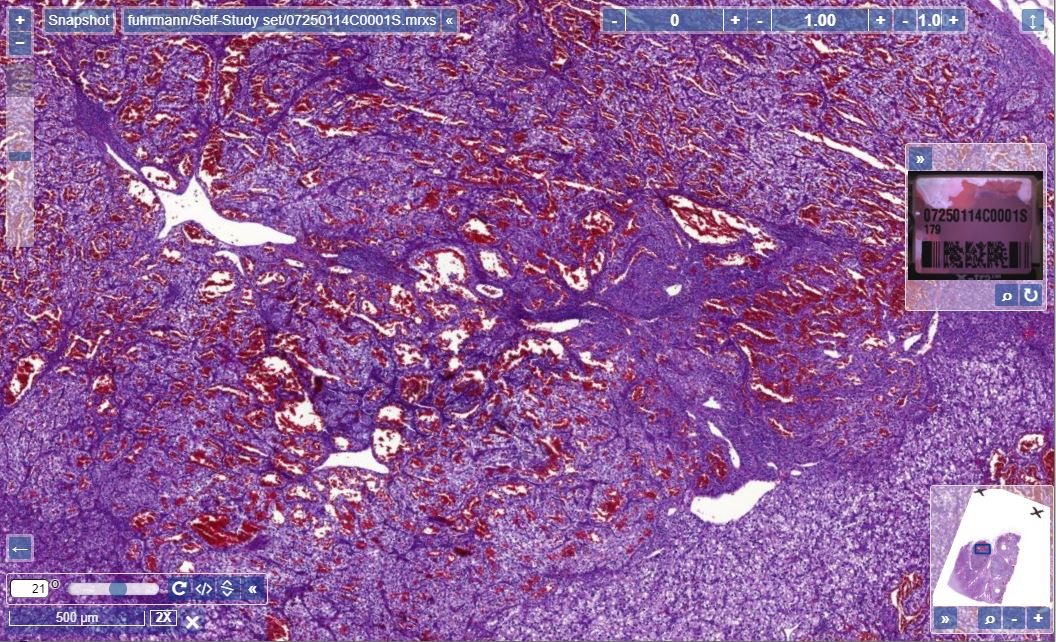
Associated images are images that are part of the whole slide image data package, and provide additinal information about the slide. Examples include a thumbnail image, a scan map, or a label image. The first and the latter of this list are automatically added to the right of the viewport, if they are available.
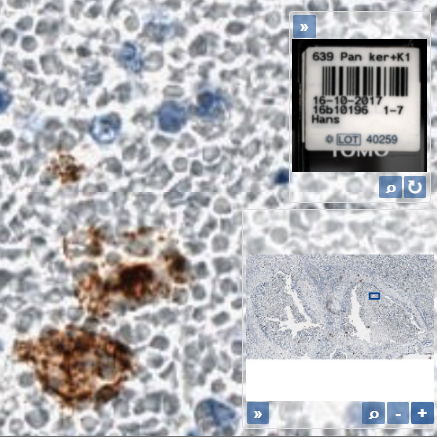
The label image can be rotated as needed. Clicking on it brings up the image in a separate viewing window.
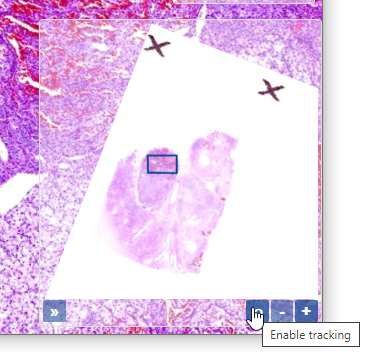
The thumbnail has a blue rectangle drawn on it to indicate the currently viewed region of interest. This widget is a mini-browser in its own right: clicking anywhere on the thumbnail moves the current viewport to that particular area on the slide. The blue rectangle itself can be dragged around to a new location, too.
For smaller specimens like (needle) biopsies, the thumbnail can be enlarged so to easier identify individual objects on the slide.
Keeping track
The thumbnail widget has a special button that allows you to track your progress throughout a slide:
Once enabled, a gray overlay covers your slide's thumbnail, with pieces of it gradually disappearing, as you start navigating your side. The zoomlevel at which you inspect a specific region of interest, influences the outline color in the tracking screen.
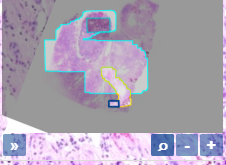
This kind of tracking is instantaneous and ad-hoc. When you close the viewport, it disappears, and its history is not logged. If you're interested in tracking viewing operations over time and across your use population, you should have a look at the heatmap functionality instead.
Color correction
The default PMA.UI representation in PMA.core shows a color correction widget in the top-right corner of the viewport.
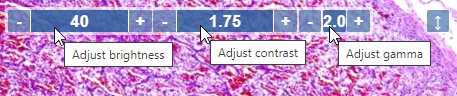
Use it to control brightness, contrast, and gamma correction.
Fluorescent content
When your slide contains one or more fluorescent color channels, a separate widget appears in the left-hand side of the viewport to allow controls over there.
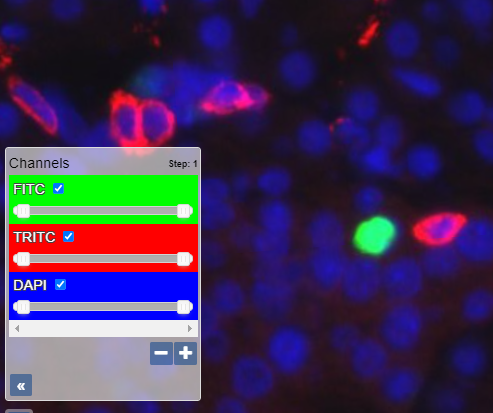
Names of channels are copied from the original file format, where possible.
You can control the visibility range of each channel individually through the scrollbar underneath each channel.
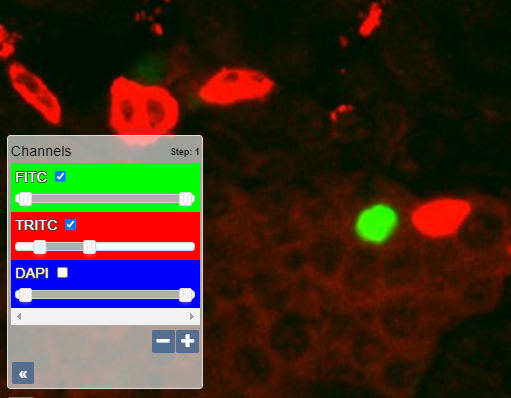
Color ranges are supported both in 8 bit and 16 bit. Version 2.0.0 only supports 8 bit channels, which sometimes lead to color bleading. This was resolved in version 2.0.1 and higher.
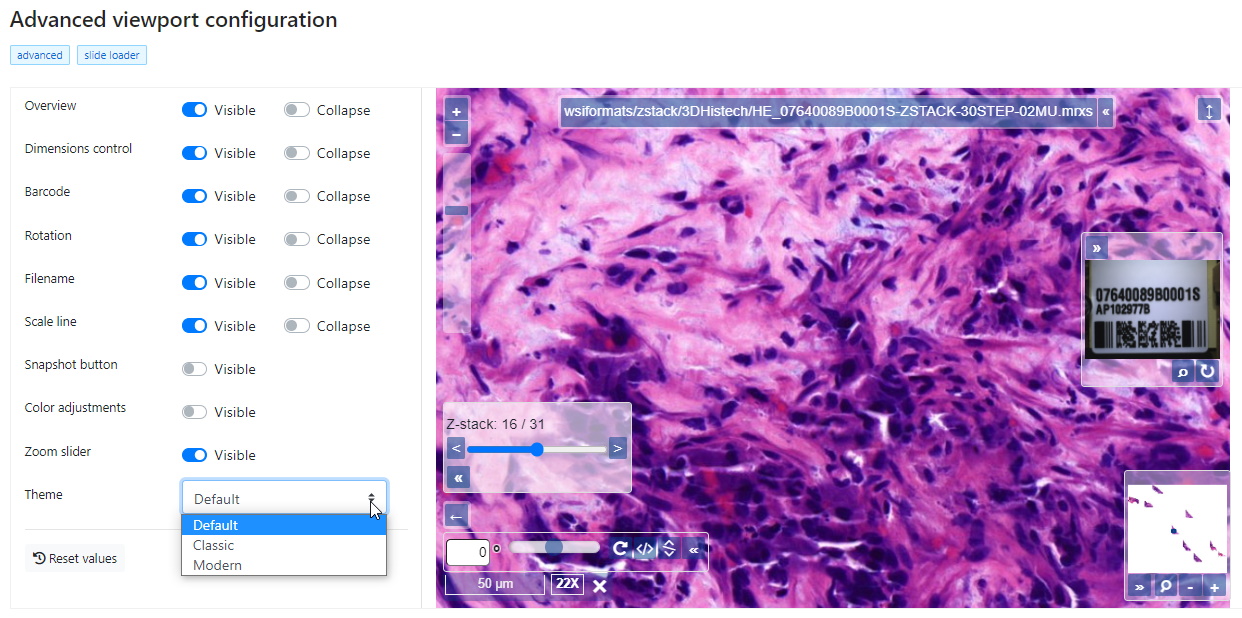
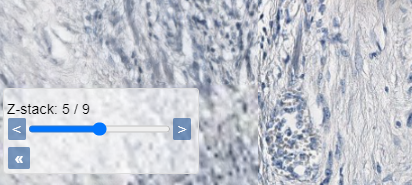
Z-stacked content
Similar to fluorescent slides; when a slide turns out to contain mutliple planes / stacks, a new widget appears automatically in the left-hand side of the viewport, allowing the end-user to navigate through the various layers.
We have a blog article on how you can analyze a z-stack to artifically compose a new slide that contains the sharpest tile at each position from the slide.